
Contents
In any large-scale organization, maintaining an accurate and consistent directory of external vendors, partners, and clients is a major administrative challenge.
While individual users can maintain their own personal contact lists, Shared Contacts are managed at the domain level. This feature centralizes contact information, enabling multiple users across the organization to access and update a common database.
By using gPanel to manage these entries, you ensure that every employee has access to up-to-date information in their Gmail "To" field and calendar invites, preventing the errors and data silos that occur when contact details are managed individually.
- Navigate to the Directory
- from the shared contact list on the table or enter the contact name or email address in the search box.

Add contact
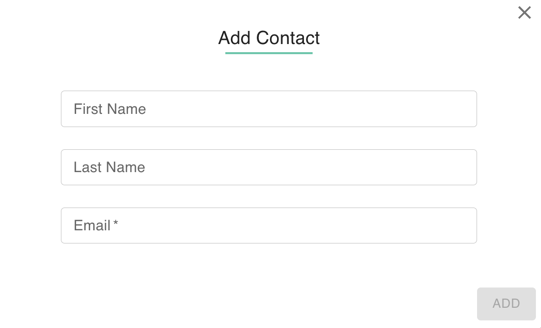
- Select the 'Add Contact' button to open the Add Contact Dialog box.
- Required fields are the First Name, Last Name, and Email of the new contact.
- Once the required information is entered, click 'Add' to save the new shared contact to the database.
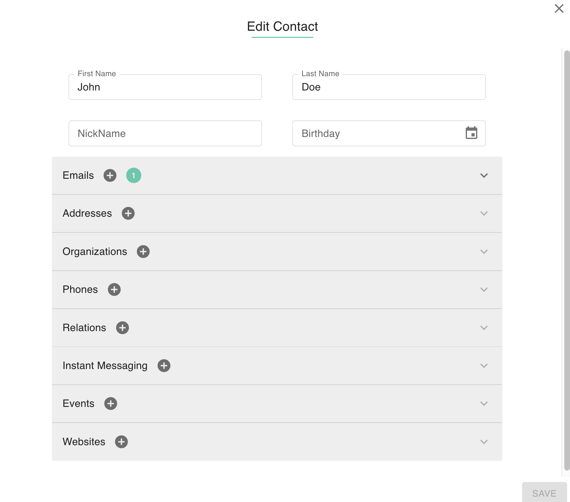
- Select a contact to reveal the 'Edit Contact' button.
- You are able to modify all standard fields (First Name, Last Name, Nickname, Birthday) and manage additional Gmail-related fields such as: Addresses, organizations, Phone, Relations, Instant messaging, Events and Websites
-
Select the contact to remove. The row will be highlighted once you have selected the contact.
-
Click on the trash can icon.
-
Confirm the removal of the contact by clicking Delete.