
Contents
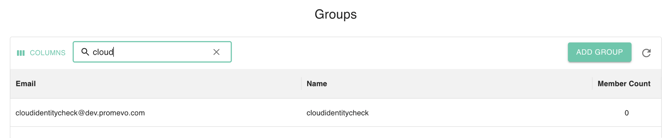
Search groups
- From your organization's User Portal, navigate to the "All Groups" tab.

-
Select the Google Group from the group list on the table.
-
You can also search for a group by entering the email address associated with that group in the search box.
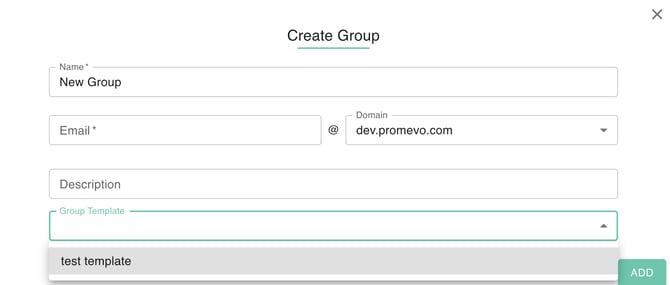
Add Group
- From the All Groups tab, selecting Add Group from the right-hand side of the screen.
- Fill out the needed fields: Name, Email, Description.
- If relevant, select a group template.
View and edit group details and membership
Important: You will only be able to edit Groups that you are the owner of.

This section also includes the group's foundational descriptive elements: Group Name, Group Email Address, and a comprehensive Group Description. This information is editable only by the Group Owner. After making any changes, the user must click 'Save' to ensure the updates are applied.

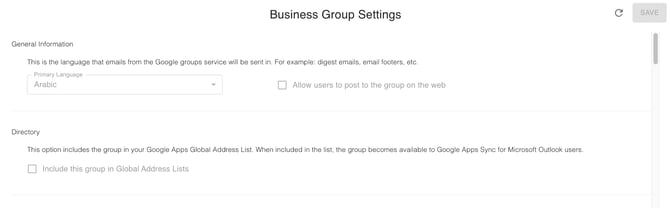
Business Group Settings
These configuration options are only modifiable by the Group Owner. They encompass the following subsections:
- General Information: Allows viewing and editing of the Primary Language and setting the default web behavior for allowing user posts.
- Directory: Controls whether the group is included in Global Address Lists (GAL), allowing you to enable or disable its listing for users.
- Content Control: Provides the option to enable or disable the automatic archiving of all messages posted to the group.
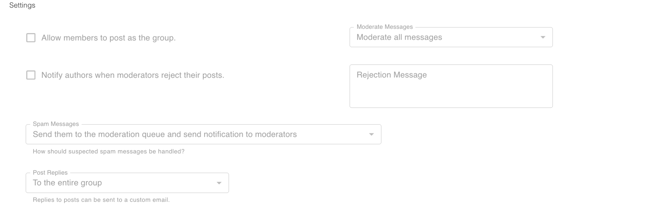
- Settings:
- Posting Controls: Defines whether members can post content using the group's identity and whether authors are notified when a moderator rejects their submissions.
- Spam Management: Specifies the method for handling and mitigating unwanted (spam) messages.
- Reply Management: Determines how post replies are managed and routed within the group.
- Role-Based Permissions: Defines which users (personnel) have the authority to View, Post, Manage, Assist, Leave, Join, and Discover the group.
- Advanced: Enabling and Disabling the Group.


Group Members
Add members
-
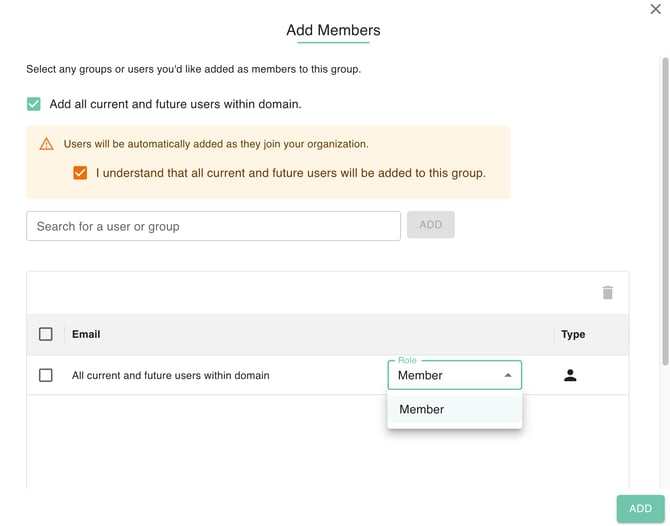
Select the Add Member button and then a Add Member Dialog Box will prompt.

-
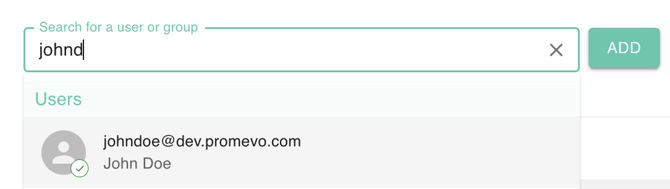
Select what you will be searching for (i.e. Users or Groups). Type in the name or email. Select one then click the Add button.
-
You must select a role for the newly added user. If the option to "Add all current and future users within the domain" is chosen, then all resulting members must also be assigned a role. The default role pre-selected is Member.
-
Click Add to Add Member.
Edit member roles
- You can change the role of existing Group Members by selecting the member and clicking the pencil or edit icon.
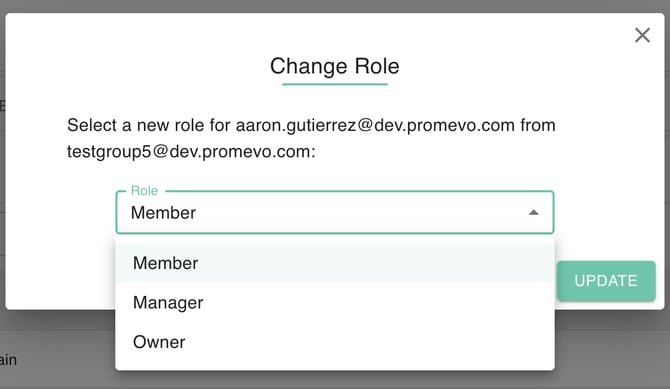
- The Change Role Dialog box will appear. You must select the new role for the member. Options are Member, Manager and Owner
- Click Update to Save the Changes.
Remove members
- Select the member to remove. The row will be highlighted once you have selected the member.
- Click on the trash can icon.
- Confirm the removal of the group member by clicking Remove.