Contents
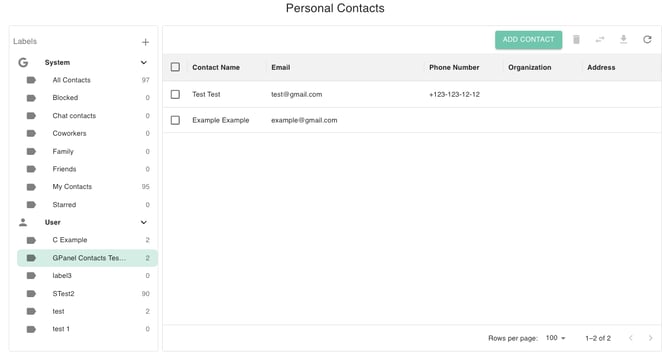
While gPanel provides a robust global directory, the Personal Contacts tab in the User Portal is designed to help your end-users manage their private professional network. This is your personal workspace where users can store, organize, and manage contacts that are specific their unique role and daily workflows.
By leveraging advanced filtering, custom labeling, and detailed profile fields, gPanel ensures that your personal contact list remains a high-fidelity "system of secord" that is both searchable and highly organized.
Locating Your Contacts
In a large contact database, speed is essential. gPanel offers two primary ways to find the information you need:
-
Filter via Labels: Organize your contacts by category. Select either System or User labels from the chevron dropdown menu. Once a label is selected and highlighted, the grid table will instantly filter to show only the contacts associated with that specific category.
-
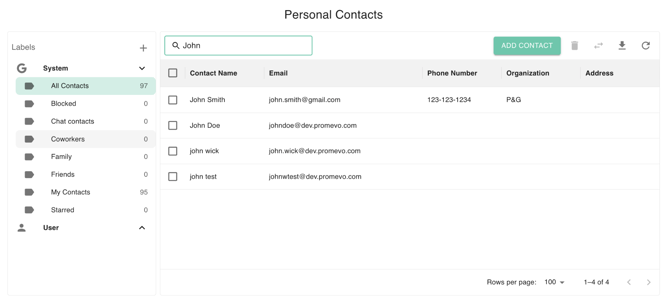
Keyword Search: Use the search bar to type in names, emails, or specific keywords. The table will update in real-time to match your query.
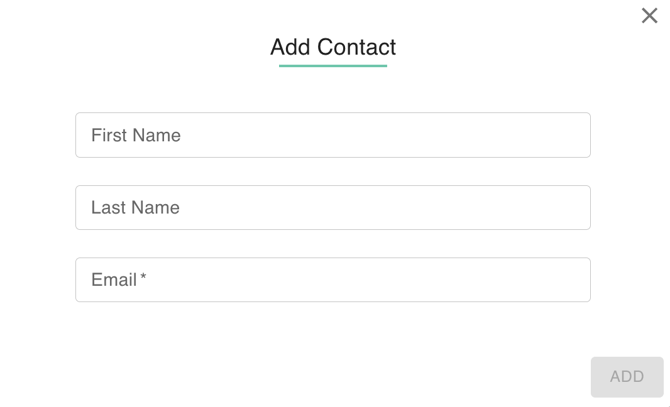
Add Contact
- Select the 'Add Contact' button to open the Add Contact Dialog box.
- Enter the First Name, Last Name, and Email of the new contact.
- Once the required information is entered, click 'Add' to save the new shared contact to the database.
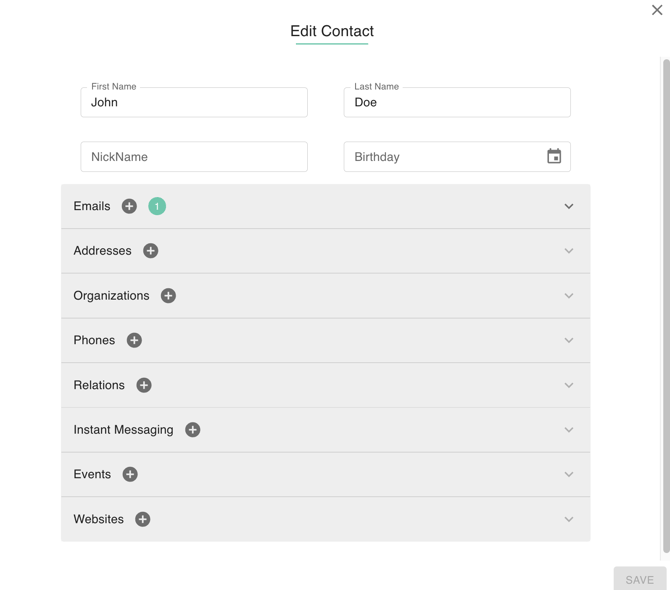
Edit Contact
- Select a contact to reveal the 'Edit Contact' button.
- Edit the corresponding fields as needed:
- First Name
- Last Name
- Nickname
- Birthday
- Email addresses
- Organizations
- Phone numbers
- Relations
- Instant messaging
- Events
- Websites
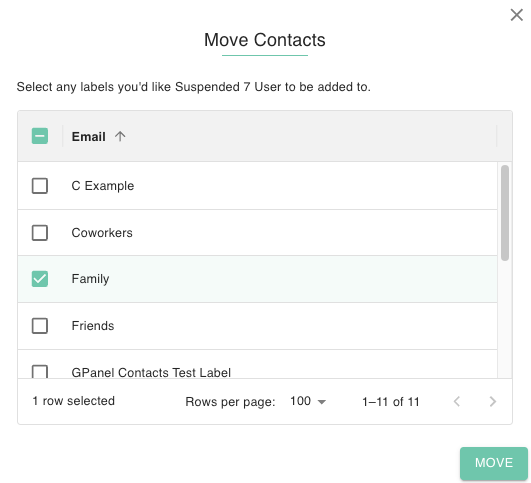
Move Contact
- Select the contact you wish to move. The row will be highlighted once you have selected the contact.
- Click on the move icon (the two arrows).
- Select label/labels you’d like the selected contact to be added to.
- Confirm the movement of the contact by clicking the Move button.
Delete Contact
- Select the contact you wish to remove. The row will be highlighted once you have selected the contact.
- Click on the trash can icon.
- Confirm the removal of the contact by clicking Delete.
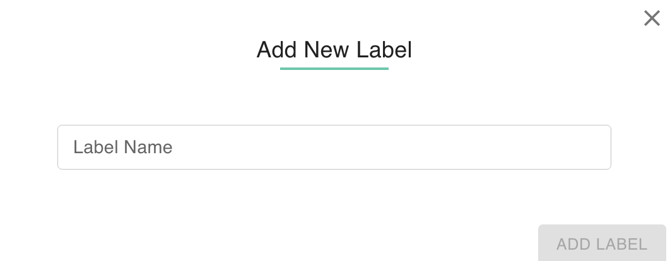
Add Contact Label
- Click the + sign in the left-hand menu to add a new contact label.

- Add New Label Dialog box will appear.
- Type in the Label Name.
- Click the ‘Add Label’ button to save.